EV Charging Efficiency: 120V vs 240V Explained
For most EV owners, upgrading to 240V charging is the better decision because it charges significantly faster and more efficiently than a standard 120V outlet, reducing energy losses and time spent plugged in. However, 240V charging usually requires a dedicated circuit, professional installation, and possibly an electrical panel upgrade, which can add upfront cost and may not be compatible with older homes or rental properties.
EV charging efficiency 120 vs 240 comes down to one core idea: a 240V Level 2 setup usually delivers a higher percentage of the electricity you pay for into the battery than a 120V Level 1 outlet, mainly because the car spends less time running its own charging hardware and climate systems per kWh delivered. The gap is real, but it is smaller in dollars than most owners expect — and it is not the main reason to upgrade.
This guide separates the physics from the marketing. It explains where charging losses actually occur, how to estimate your own numbers, and when a standard 120V household outlet remains a perfectly rational choice for a US EV owner.
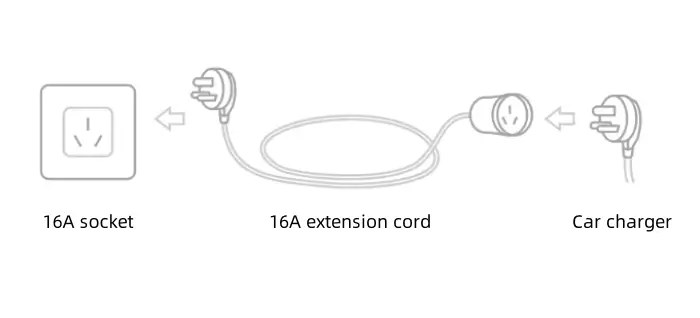
- 120V charging: Uses a standard household-style outlet and is commonly called Level 1 charging.
- 240V charging: Uses a higher-voltage dedicated circuit and is commonly called Level 2 charging.
- Efficiency definition: The percentage of energy drawn from the grid that is stored in the battery.
- Key variables: Vehicle onboard charger, EVSE quality, circuit wiring, ambient temperature, and battery state of charge.
- 120V compatibility: Many EVs can charge from a standard household outlet when the circuit, outlet, and.
What “Charging Efficiency” Actually Means
Charging efficiency is the ratio of energy that reaches the battery to energy drawn from the wall. If your EVSE and onboard charger pull 10 kWh from the grid and 9 kWh land in the pack, that session ran at 90% efficiency. The missing 1 kWh became heat, plus the electricity used to run pumps, fans, computers, and contactors while the session was active.
Two devices matter here, and owners often blur them together:
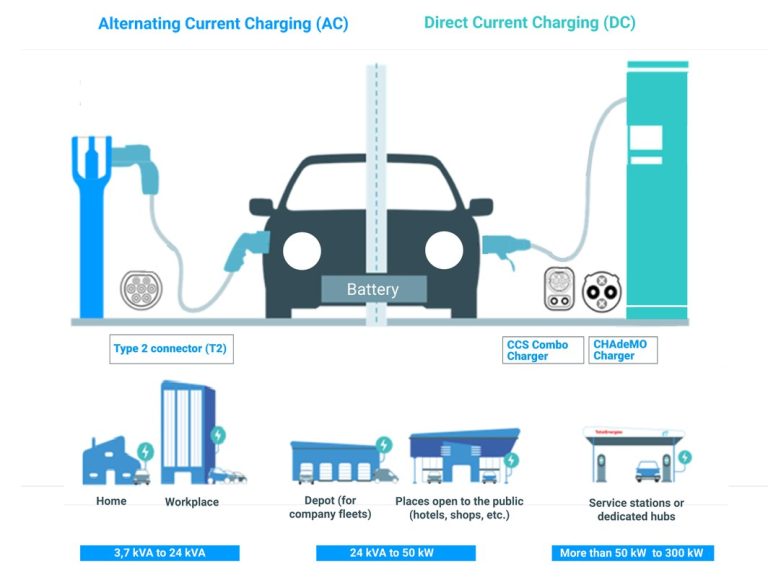
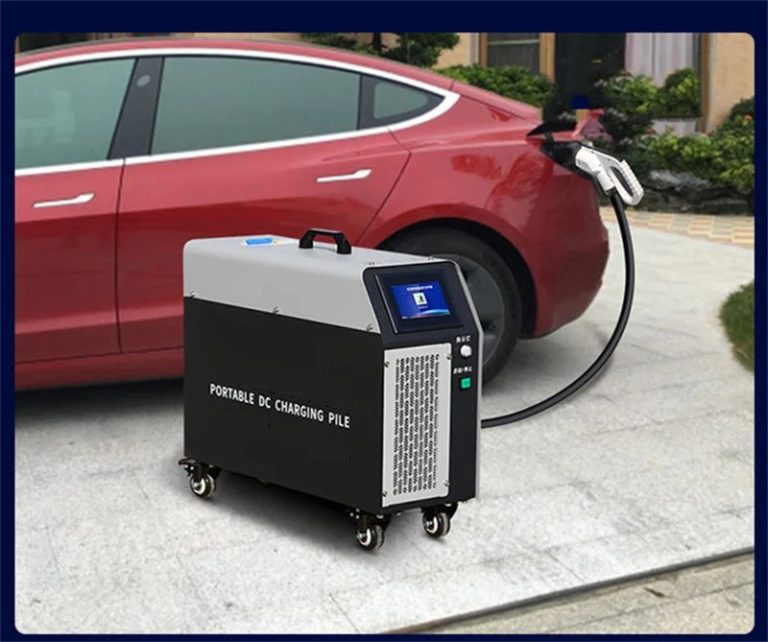
- The EVSE — the wall unit or portable cord set, commonly called “the charger.” It communicates with the car and passes AC power through. It does not convert AC to DC.
- The onboard charger — hardware inside the vehicle that converts AC to DC and manages current into the battery. This is the component that sets your real-world AC charging ceiling.
Because the EVSE is largely a smart switch and safety device, most AC charging losses happen in the vehicle, not in the wall box. That is the single most useful fact for understanding why voltage matters.
Level 1 (120V) vs Level 2 (240V): The Structural Difference
Both are AC charging. Both use the same J1772 or NACS / SAE J3400 inlet on the vehicle side, depending on your car. The difference is supply voltage and, usually, available amperage.
| Item | Level 1 (120V) | Level 2 (240V) |
|---|---|---|
| Typical supply | Standard household outlet | Dedicated 240V circuit |
| Typical EVSE current | 12 A (some cord sets offer lower settings) | 16 A to 48 A, depending on EVSE and circuit |
| Approximate power | ~1.4 kW | ~3.8 kW to ~11.5 kW |
| Typical session length | Overnight plus part of the next day | A few hours |
| Installation | Existing outlet, no new circuit | New circuit, often hardwired |
Those power figures are arithmetic from voltage and current, not a promise about your car. The vehicle’s onboard charger limit, the EVSE’s configured output, and the circuit’s capacity all cap the result.
Where the Losses Come From
Fixed overhead per session
Whenever a charging session starts, the vehicle wakes up. Contactors close, the battery management system boots, thermal management may run, and the onboard charger energizes. That overhead is roughly a fixed cost in watts, not a percentage.
This is the heart of the 120V problem. A Level 1 session at about 1.4 kW might spend 150 to 300 watts on overhead, which is a meaningful slice of a small power budget. A Level 2 session at 7 kW or more spreads the same overhead across far more energy, so the percentage lost shrinks.
AC-to-DC conversion losses
The onboard charger is not perfectly efficient. Conversion losses typically rise as a percentage when the charger runs at a small fraction of its rated capacity — which is exactly what happens on 120V. Many onboard chargers are designed around a 240V input and run well below their sweet spot on 120V.
Thermal management and cold-weather behavior
In cold conditions, the car may use energy to warm the pack before or during charging. On a slow Level 1 session, that heating load can consume a large share of the incoming power, sometimes leaving very little for actual charging. On 240V, the same heating load is a smaller fraction of a much larger input.
Treat those ranges as planning estimates, not specifications. Published figures vary by vehicle, and the only way to know your own number is to compare wall energy (from a metered EVSE or a dedicated circuit monitor) against energy added to the pack.
The Math: What the Efficiency Gap Costs You
Here is a worked example using clearly labeled assumptions. Your rate, vehicle, and climate will change the answer.
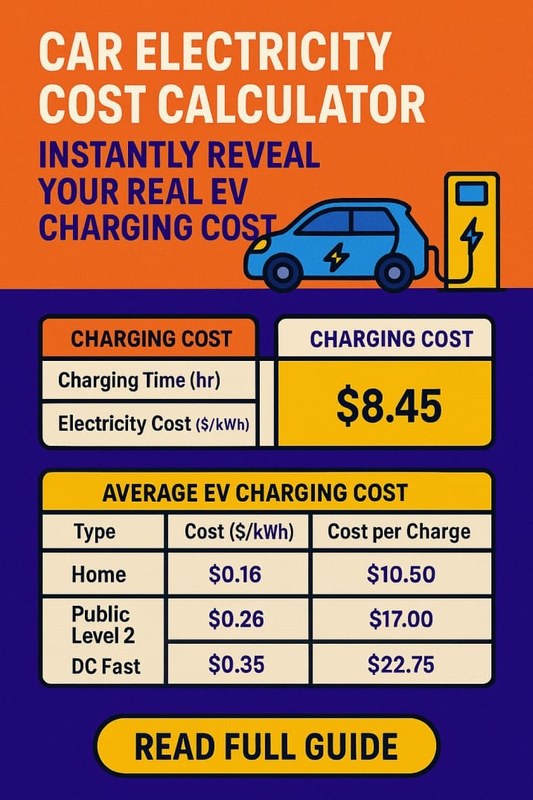
Assumptions: 36 kWh added to the battery (roughly a 20% to 80% session on a 60 kWh pack), Level 1 at 85% efficiency, Level 2 at 92% efficiency, electricity at $0.16/kWh before taxes and fees.
- Level 1: 36 ÷ 0.85 = 42.4 kWh from the wall
- Level 2: 36 ÷ 0.92 = 39.1 kWh from the wall
- Difference: about 3.3 kWh, or roughly $0.53 at the assumed rate
Example only. Utility rates, taxes, fees, time-of-use windows, demand charges, and real charging losses vary by location and vehicle. Verify your current rate on your utility’s published tariff.
Roughly fifty cents per session. Over a year of daily charging, that is on the order of a couple hundred dollars — real money, but usually not the deciding factor. The stronger argument for 240V is time, convenience, and cold-weather reliability.
Speed Is the Bigger Practical Difference
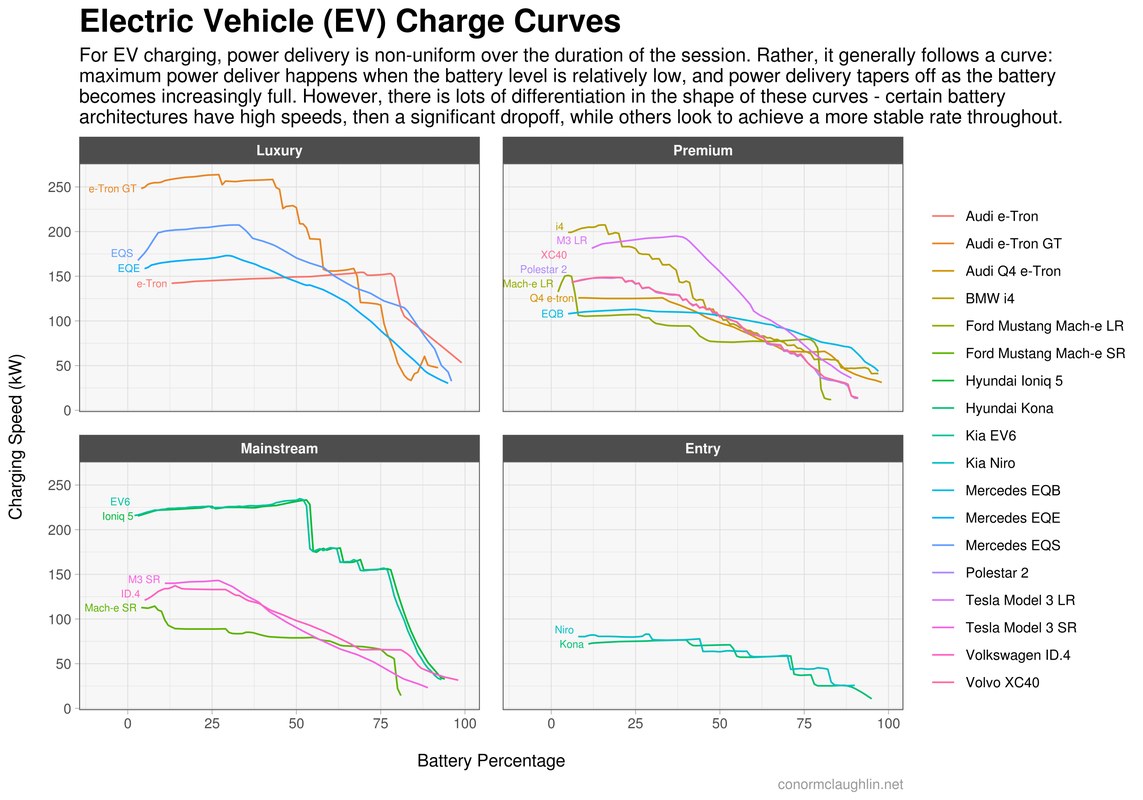
Using the same assumptions and a 7.68 kW Level 2 EVSE output (240V at 32A), the delivered-to-battery power is roughly 7.1 kW. The Level 1 session delivers roughly 1.2 kW to the battery. That is about a six-fold difference in charging rate, which turns a 30-hour session into a five-hour one.
These are example values. The EVSE’s configured output, the circuit’s capacity, and the vehicle’s onboard charger limit can each reduce the actual rate.
If you want to see how amperage translates into real charging time, our breakdown of 48 amp EV charger speed walks through the arithmetic and the vehicle-side limits that cap it.
What Limits Your Level 2 Efficiency
The onboard charger is the ceiling
A 48A EVSE does not guarantee 48A into your battery. If your vehicle’s onboard charger is rated at 32A, that is your maximum, and the extra EVSE capacity sits unused. Buying more EVSE than your car can accept does not improve efficiency or speed.
Amperage and circuit sizing
Higher current generally means a shorter session and less fixed overhead per kWh, but it also demands more from your electrical system. Whether a mid-range circuit is sufficient for your driving is a genuinely practical question — our article on whether 40 amps is enough for a Level 2 EV charger covers that decision without assuming everyone needs the maximum.
Charging current: Set by the EVSE and limited by the vehicle. Circuit / breaker: Continuous EV charging loads require a dedicated circuit sized per the equipment instructions and the applicable electrical code in your jurisdiction. Do not assume a specific breaker or wire size without verifying the EVSE’s installation manual and local requirements.
Circuit sizing and conductor requirements are covered in more depth in our guide to whether a 48 amp EV charger needs a 60 amp circuit.
When 120V Still Makes Sense
- Drivers averaging well under 40 miles per day with long overnight parking windows
- Renters or apartment dwellers without authority to install a 240V circuit
- Households using a 240V unit as the primary charger and 120V as a backup
- Plug-in hybrid owners with small usable battery capacity
- Long commutes or high daily mileage
- Cold climates where pack heating eats the Level 1 power budget
- Households with only a few hours of parking between trips
- Vehicles with large packs and low miles-per-kWh efficiency
Level 1 is not a compromise for everyone. If your car sits plugged in for ten hours a night and you drive 25 miles a day, the efficiency penalty is small in absolute terms and the installation cost is zero.
Efficiency Is Not the Only Number That Matters
It is easy to over-optimize the efficiency percentage and miss the bigger picture. Consider these factors alongside it:
- Time-of-use rates. A slower charger may still finish inside your off-peak window, in which case the rate matters more than the loss percentage.
- Cold-weather usability. In winter, Level 1 can become marginal or effectively unusable in some conditions, while 240V keeps working.
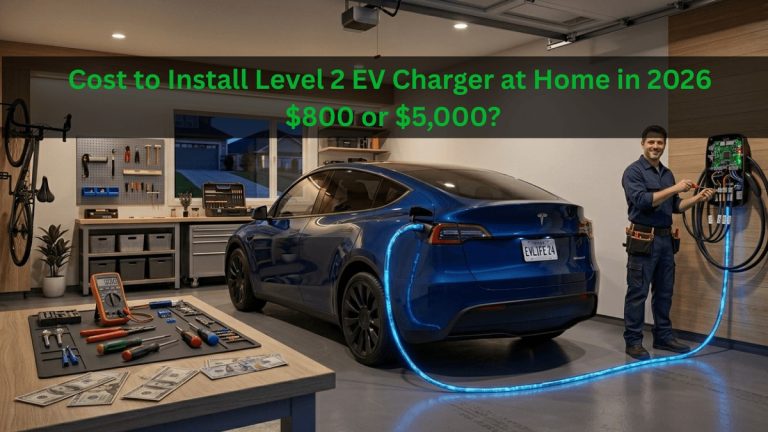
- Installation cost. A 240V circuit involves an electrician, permits, and possibly a panel upgrade. That upfront cost is usually the dominant financial variable, not the per-session loss.
- Battery longevity. Slower AC charging is generally gentler, but Level 2 AC charging is still slow relative to DC fast charging and is not inherently hard on a pack.
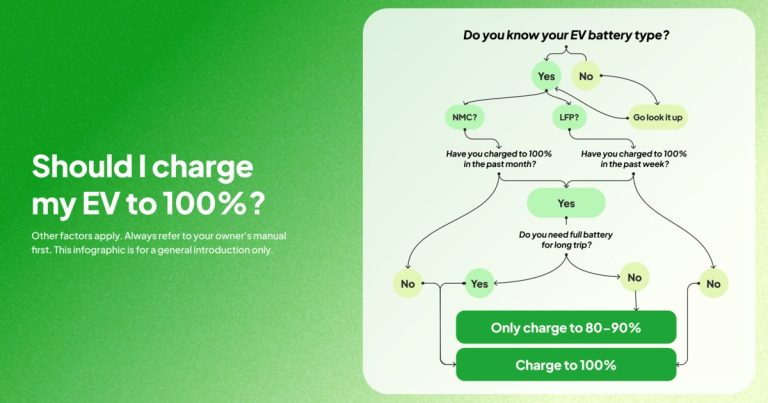
Charging speed is only one input into battery health. Manufacturer guidance, battery chemistry, thermal management design, ambient temperature, and state of charge all matter. Avoid applying universal charging-percentage rules across different vehicles — follow your own manufacturer’s published recommendations.
How to Estimate Your Own Efficiency
Use a metered EVSE, a certified energy monitor on the dedicated circuit, or your vehicle app’s session energy figure — and note which one you are reading, because they measure different points.
Record state of charge before and after, then multiply the percentage change by your usable pack capacity. Usable capacity is often lower than the marketing figure.
Battery energy divided by wall energy gives the session efficiency. Run it a few times in similar temperatures before drawing conclusions.
Installation Considerations for 240V
Practical Takeaways
- 240V is generally more efficient than 120V, mostly because fixed per-session overhead is spread across more energy.
- The efficiency gap translates to a modest cost difference per session at typical residential rates — usually cents, not dollars.
- Time saved, cold-weather reliability, and household logistics are usually the stronger reasons to install Level 2.
- Your vehicle’s onboard charger, not the EVSE’s badge, sets your real AC charging ceiling.
- Measure your own numbers if efficiency matters to you; do not rely on generic percentages.
- Best for: Level 2 (240V) for most owners who drive regularly, need predictable overnight charging, or live in a cold climate — the efficiency gain is a bonus on top of the time savings.
- Think twice if: You are considering a costly panel upgrade solely to chase a small per-session efficiency gain, when your actual driving needs are already met by 120V.
- Next step: Confirm your vehicle’s maximum onboard AC charging rate and your EVSE’s configured output before comparing any two charging setups, then verify circuit requirements with a qualified electrician.
Frequently Asked Questions
Most US EVs can charge from either, but you need the correct equipment. A 120V Level 1 cordset usually plugs into a standard household outlet, while 240V Level 2 charging requires a compatible EVSE and a 240V outlet or circuit. Check your vehicle and EVSE manuals for compatibility.
Usually yes, but actual charging speed is limited by the lowest-rated part of the chain: the circuit, the EVSE, and your vehicle’s onboard charger. A 240V setup can only deliver as much power as your EV is designed to accept.
A 240V EVSE typically needs a dedicated circuit and may require a licensed electrician, depending on your home and local rules. A 120V setup may work with an existing outlet if it is compatible and the circuit can handle the load. Installation costs for 240V are generally higher than using an existing 120V outlet, but actual costs vary.
Only use adapters specifically designed for EV charging and compatible with your EVSE and outlet. Never use a household adapter to plug a 240V EVSE into a 120V outlet, or vice versa. If unsure, use the plug and cordset supplied with your EVSE or consult a qualified electrician.
Not inherently. Both 120V and 240V are considered slow charging compared with DC fast charging. A 240V setup may produce more heat because it delivers more power, but EV battery management systems are designed to manage this. Follow your manufacturer’s charging recommendations.
Cold or hot weather can reduce charging speed and range for both. In cold weather, 240V may be more useful because it can provide enough power to warm the battery and cabin while still adding range, whereas 120V may add range very slowly. For maintenance, inspect cords and connectors for damage, keep them dry, and follow the EVSE and vehicle manuals.